Self-myofascial release involves methods of massaging your own muscles to try and alleviate tension, pain, or improve mobility This article will outline some of the basic theory behind this recovery technique, cover the basic techniques and highlight some of the benefits of self-myofascial release. We will also provide some SMR exercises that you can perform at home.
What is Self-Myofascial Release?
When performing self-myofascial release, we aim to alleviate the symptoms of DOMS by managing the sensation of tightness in the muscles after exercise. This manual manipulation of muscles also helps to release adhesions (knots) and scar tissue (resulting from injury/trauma).
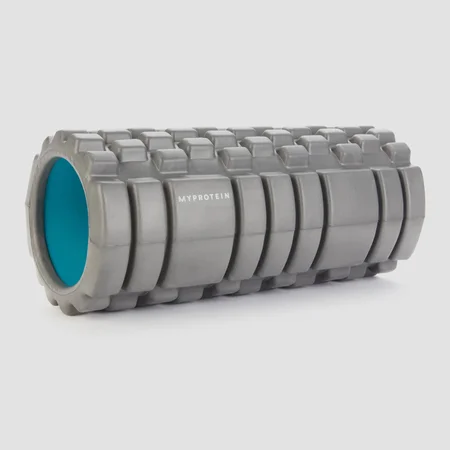
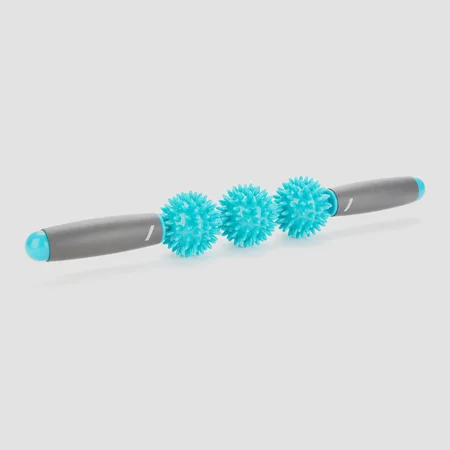
SMR can be performed using a foam roller, a lacrosse or hockey ball, recovery ball or stick, or even by hand. Foam rollers are extremely versatile tools and can be applied to almost any body part.
What is DOMS?
DOMS stands for Delayed Onset of Muscle Soreness – usually occurring within 12-72 hours after exercise that involves loading of the muscles. More specifically, DOMS is a result of the inflammatory healing response which occurs after muscle fibres experience microtears after resistance training – most associated with eccentric loading of the muscle.
What is fascia?
Fascia is a thin layer of connective tissue that surrounds every organ, blood vessel, bone, nerve fibre and muscle in place. Fascia essentially clings tightly to all structures, providing stability throughout the body.
What is an adhesion/scar tissue?
An adhesion is a band of scar tissue that joins two internal body surfaces that are not usually connected. This occurs in response to physical trauma, where the body has regenerated excess tissue to repair an area. SMR aims to break these areas down to help restore mobility to the area.
How does Self Myofascial Release work?
Self-myofascial release is performed by applying pressure to soft tissue structures (i.e., muscle) to try and alleviate pain, improve blood flow, and restore mobility. Often, this can feel uncomfortable, but it should not feel painful, as this may be a sign that you could be doing more harm than good. If you experience significant pain or discomfort when performing SMR, then it’s wise to back off to avoid aggravating the pain.
While the science around the mechanisms involved in SMR remain unclear, we know that it certainly helps to increase blood flow to the affected area, which in turn is associated with more efficient recovery. It is believed that SMR also helps to mechanically break down adhesions within the muscle itself, ultimately relieving pain and restoring mobility to an otherwise restricted muscle.
What are the benefits of SMR?
Although the science surrounding SMR do not provide a definitive answer regarding its efficacy, we know that at the very least, it can feel good. When it comes to recovery and enjoying your sessions, that’s definitely a bonus. In this section, we’ll outline some of the other main benefits of utilising SMR techniques in your recovery.
SMR relaxes your muscles
Massage relaxes the muscles by separating and loosening muscles fibres. Similar to some methods of stretching, muscles are elongated and stretched out, which releases tension and allows a greater range of movement to be available at a joint. This can not only reduce the sensation of tightness, but actually help to relax the muscles enough that actual tension in the muscles is released.
It increases blood flow
Manually manipulating the muscle will increase blood flow to the area, and thus increase the temperature of the muscle. When performed after exercise, this can help to increase the rate of recovery, as cellular waste is removed from muscles and nutrients are delivered more efficiently.
SMR can release trigger points
As previously discussed, self-myofascial release can help to break down the adhesions within the muscle, alleviating sensations of pain and tightness. A specific technique known as ‘trigger pointing’ or ‘ischaemic compression’ works by cutting off the blood supply to an area of muscle, forcing it to relax and thus temporarily alleviating adverse symptoms.
It can help to improve mobility
Adhesions within the muscle restrict movement by limiting how much a muscle can lengthen by holding it in a chronically shortened (contracted) position. Removing these adhesions can help to restore mobility, as the muscle is able to achieve its full length without restriction.
How to perform SMR with a foam roller
A foam roller is a highly versatile tool, allowing you to apply SMR to broad or specific areas of a muscle. When using a foam roller, you should always roll from distal (furthest away from your head) to proximal (closer to your head), as rolling the other way can damage the passive valves present in veins that prevent the back flow of blood.
The slower you roll, the more pressure will be applied, resulting in a deeper sensation of massage. If you roll faster, then this sensation will be more superficial (which is often best when you have significant DOMS, as a lot of pressure can be quite painful). When you reach a tight area or if you feel a trigger point, you can stay around that area for around 15 seconds to maximise the effectiveness of the SMR technique.
Using a smooth foam roller without grooves will result in a broader massage, whilst other foam rollers with textured patterns to them will be able to sink deeper into the muscle, and thus may be better for when you feel some trigger points in the muscle.
Foam roller exercises
You will want to focus your attention on relieving painful knots and adhesions which are specific to you, however, the examples below appropriately group your muscles. You can modify this routine to suit both your frequency and style of training, rendering it both customisable and effective. To perform this routine, you’ll need a high-quality foam roller. Ensure that you do not roll over any joints, and if you feel pain, stop.
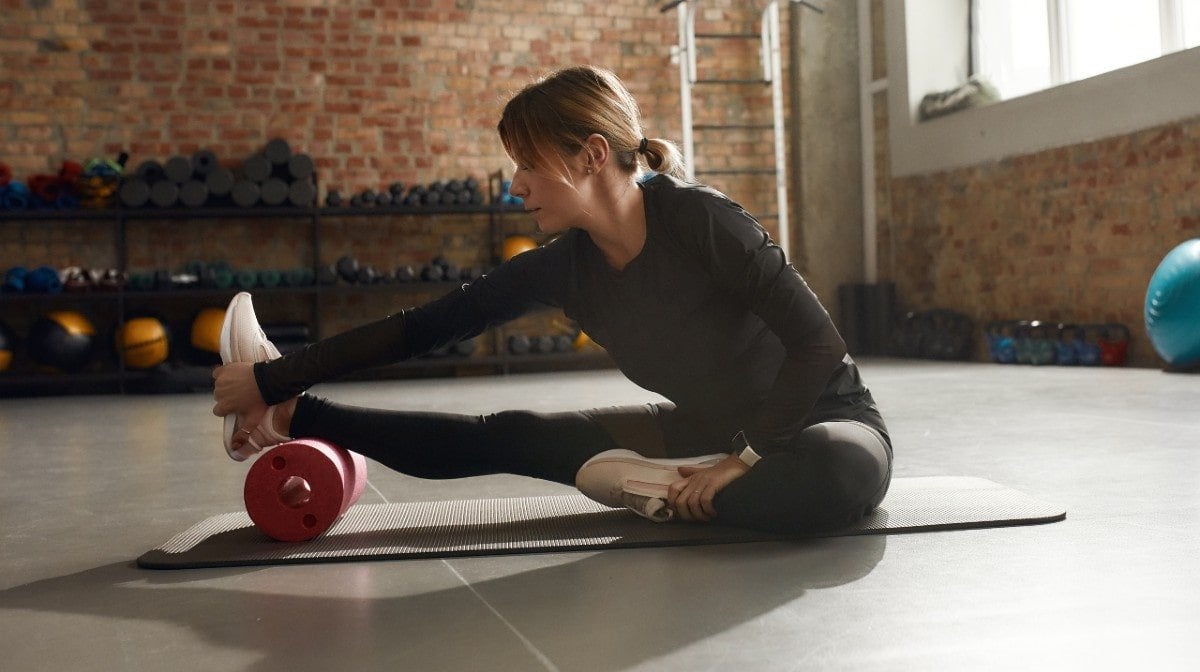
Foam rollers can also be used to maximise the effectiveness of some stretches. By lying on the foam roller, you may be able to stretch out muscles that are otherwise quite difficult to stretch effectively, such as the latissimus dorsi on your back.
Other tools such as a recovery ball or -stick are optional and can be helpful for applying sufficient pressure to those hard-to-reach areas. If In doubt about whether SMR could exacerbate a pre-existing injury, you should seek advice from a qualified Medical Practitioner.
Day 1
Targeted Muscles: Pectorals, Triceps complex, Bicep complex, Forearm extensors and flexors, Rotator Cuff complex and Latissimus Dorsi.
Pectorals: Lying on your front, place the foam roller in line with your sternum. Roll slowly from the arm inwards to the sternum. Triceps: Lying on your back, place the foam roller under your upper arm. Roll from the elbow towards the shoulder. Biceps: Lying on your front, with the foam roller at your elbow, roll slowly from the elbow towards the shoulder. Forearm extensors: In a seated position, place the foam roller on your thighs. With your palms supinated and your forearms placed on the foam roller, roll from the wrist to the elbow. Forearm flexors: In a seated position, place the foam roller on your thighs. With your palms pronated and your forearms placed on the foam roller, roll from the wrist to the elbow. Rotator cuff: Lying on your back, with the foam roller placed in line with your spine, roll from towards your shoulder in towards the spine. Latissimus dorsi: Lying on your side, roll from the waist up towards the armpit.
Day 2
Quadriceps: Lying on your front, roll from the knee to the hip. Maintain an extended knee throughout. Hamstrings: Lying supine, roll from the knee to the glutes. Gluteus maximus: Lying supine, roll over the glutes from inferior (lower) to superior) higher). Gluteus medius: Lying on your side, roll over the glutes from inferior (lower) to superior (higher). Gastrocnemius & soleus: Lying supine, roll from the ankle to the knee joint, using your arms to stabilise your upper body. Tibialis anterior & peroneal muscles: Lying prone, roll from the ankle to the knee. Use your hands to stabilise the upper body. To target tibialis anterior, turn your foot inwards and massage the medial portion of the shin. For the peroneals, massage the lateral portion of the shin.
Day 3
Targeted
Rectus Abdominis: Lying prone, massage the abdomen from the pelvis up to the ribs. Flex your abs slightly to avoid compressing organs. External Obliques: Lying on your side, roll your torso slightly forwards while lying on the foam roller. Roll from the pelvis up towards the ribs.
Take Home Message
With benefits such as improved recovery, improved mobility and reductions in pain, self-myofascial release is an easy, accessible, and effective tool that can be used to help maximise your recovery. If you’re serious about getting the most out of your training, then SMR is for you.
READ MORE HERE:
10 Basic Yoga Exercises For Beginners | Yoga Made Easy
Roll out your yoga mat and discover the benefits yoga has to offer....

How Does Exercise Benefit Your Mental Health And Which Exercises Are Best?
Here's how to look after your mental health through exercise....

